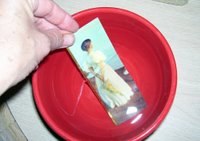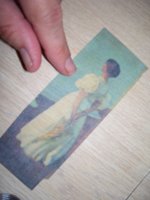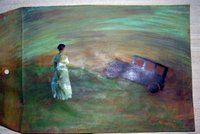
Today, I worked on some mail tape transfers and wanted to share that technique with you if you do not already know how to do that. First gather your supplies: Clear Mail Tape, a bowl of hot water, some pictures and some scissors. Here are the directions.
Put the tape on the picture and make sure you trim so that it is flush with the picture. You don't want tape or picture hanging off.
Burnish the tape side to the picture with a burnishing tool -bone folder or popcycle stick just ensure that it is nice and smooth so no water gets in the sealed areas and creates bubbles-
Place the taped picture in the hot water bowl and swish it around a little and let it soak a few minutes. Some pics take longer than others depending on the thickness and tenacity of the paper it was created on.
Now gently rub off the backing (the paper) from the picture side. Rub it off until you can see the picture underneath.
Pat the picture dry.
I trimmed around my pic and used gel medium to adhere it to my mail art I created.

Comments
Wonderful tutorials! Did you use colored copies of pictures and if so , are they lazer jet??
I also like your red birdy with the red heart. Birds are so visible in all genres of art and design right now!
Namaste,
MB